Cookie Monster Cookies Recipe Fun Blue Treats
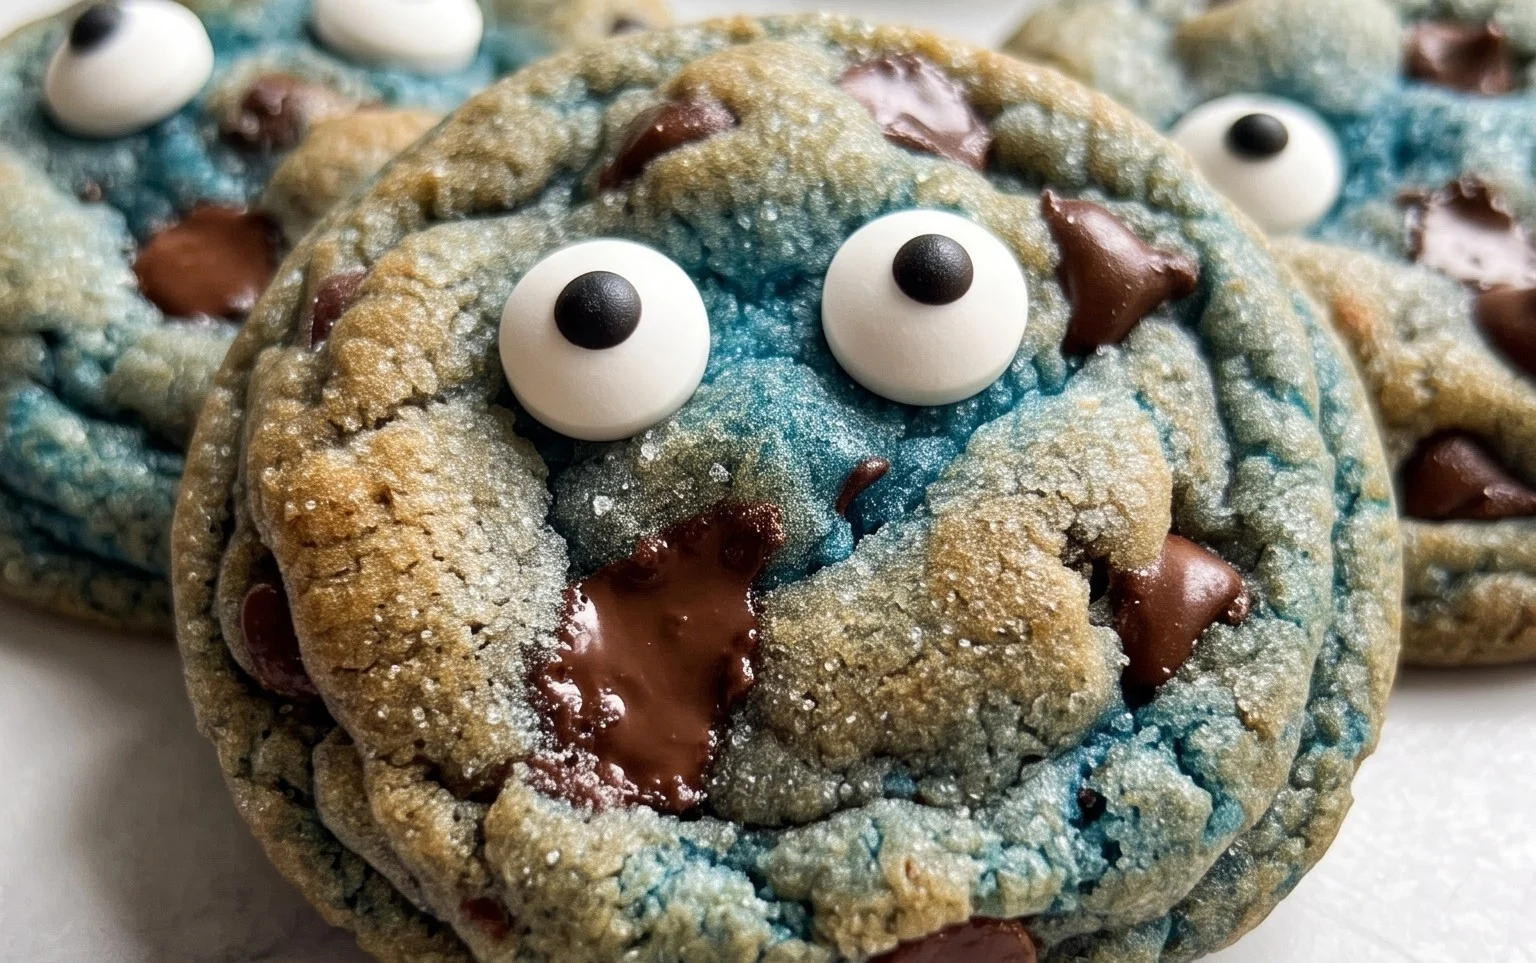
Cookie Monster Cookies are a whole lot of fun, and not just because of their famous blue color. They’re packed with chocolate chips and chunks of cookies, making them extra chunky and delicious. These cookies remind me of Saturday morning cartoons and baking with kids. They’re special because they capture that playful, over-the-top spirit of everyone’s favorite furry, cookie-loving monster. The secret to their success is a good chewy cookie base, a vibrant blue hue that really pops, and of course, plenty of chocolate and cookie bits mixed right in. Getting that perfect texture, a little crisp on the edges and delightfully soft in the middle, is what makes these Cookie Monster Cookies a hit every single time. They’re perfect for parties, bake sales, or just when you need a cheerful treat.
Cookie Monster Cookies
The Perfect Chewy Treat
Ingredients:
- 120 g (1/2 cup) unsalted butter, softened
- 100 g (1/2 cup) granulated sugar
- 50 g (1/4 cup) light brown sugar
- 1 large egg, room temperature
- 1 teaspoon vanilla extract
- Blue gel food coloring (a generous amount to achieve that iconic Cookie Monster blue)
- 230 g (1 3/4 cups) all-purpose flour
- Pinch of salt
- 1 teaspoon baking powder
- 1/2 teaspoon baking soda
- 40 g (1/4 cup) dark chocolate chips
- 40 g (1/4 cup) white chocolate chips
- 30 g (1/4 cup) crushed mini cookies (like mini chocolate chip cookies or even some extra Oreos)
- 3 whole Oreos, roughly chopped
- 12 whole Oreos for stuffing
Making the Cookie Monster Dough
The fun really begins when we start bringing these ingredients together to create that unmistakable Cookie Monster blue. The key is getting a good, soft dough that’s easy to work with and bakes up perfectly chewy. First things first, make sure your butter is properly softened. This means it should be pliable, not melted or still cold from the fridge. You should be able to press your finger into it and leave an indent. This will help it cream nicely with the sugars.
In a large bowl, I like to cream together the softened butter, granulated sugar, and light brown sugar. You can use an electric mixer for this, or if you’re feeling energetic, a good sturdy whisk and some elbow grease will work too. Beat them together until the mixture is light, fluffy, and pale in color. This process, called creaming, incorporates air into the dough, which is important for the texture of the cookies. Don’t rush this step; it usually takes about 3 to 5 minutes with a mixer.
Next, I add the room-temperature egg and the vanilla extract to the creamed sugar and butter mixture. Mixing them in until just combined is important. Overmixing at this stage can lead to tougher cookies. Now comes the truly exciting part: the blue food coloring. Add blue gel food coloring, a little at a time, and mix until you achieve your desired Cookie Monster shade of blue. Gel food coloring is best because it’s concentrated and won’t add extra liquid to your dough, which could make it too wet. You want a bright, bold blue that’s instantly recognizable.
Bringing the Dry and Wet Together
In a separate medium bowl, whisk together the all-purpose flour, salt, baking powder, and baking soda. Whisking these dry ingredients together ensures they are evenly distributed throughout the dough. This prevents pockets of leavening or salt, which can affect the flavor and rise of your cookies.
Now, gradually add the dry ingredients to the wet ingredients in your large bowl. Mix on low speed or by hand until just combined. It’s really important not to overmix here. Once you no longer see streaks of dry flour, stop mixing. Overmixing develops the gluten in the flour too much, which can result in tough, dense cookies instead of the chewy ones we’re aiming for.
Adding the Goodies
After the dough is just combined, it’s time to fold in the chocolate chips, white chocolate chips, crushed mini cookies, and chopped Oreos. I like to reserve a few chocolate chips and cookie pieces to press into the tops of the cookies before baking, just for extra visual appeal. Gently fold these in with a spatula or wooden spoon until they are evenly distributed. The variety of textures from the chips and cookies adds so much to these Cookie Monster cookies. The dark and white chocolate provide classic cookie flavor, the crushed mini cookies add a subtle crunch, and the chopped Oreos give little pockets of chocolatey goodness.
Stuffing and Shaping
This is where we make these cookies extra special – the stuffed Oreo center! Take about 1 to 1.5 tablespoons of the blue cookie dough and flatten it in the palm of your hand. Place one whole Oreo in the center of the flattened dough. Then, carefully wrap the dough around the Oreo, ensuring it’s completely enclosed. You want to create a smooth ball, making sure there are no gaps where the Oreo can peek through. Repeat this process with the remaining dough and Oreos. You should end up with 12 stuffed cookie dough balls.
For the best results, I recommend chilling the dough balls for at least 30 minutes. This helps the cookies hold their shape better during baking and prevents them from spreading too much. You can cover the baking sheet with plastic wrap and place it in the refrigerator. While the dough is chilling, preheat your oven to 180°C (350°F). Line baking sheets with parchment paper to prevent sticking.
Baking Your Blue Beauties
Once the dough balls are chilled, place them on the prepared baking sheets, leaving about 2 inches between each cookie to allow for spreading. If you reserved some chocolate chips or cookie pieces, gently press them into the tops of the dough balls now. Bake for 10-13 minutes, or until the edges are set and lightly golden, but the centers still look slightly soft. They will continue to cook on the baking sheet as they cool.
After baking, let the cookies cool on the baking sheet for about 5 minutes before transferring them to a wire rack to cool completely. This resting period is essential for the cookies to firm up and develop their chewy texture. They might seem a little soft when you first take them out of the oven, but they will become perfect as they cool. Enjoy your homemade Cookie Monster cookies! They’re perfect with a glass of milk, of course.
Conclusion:
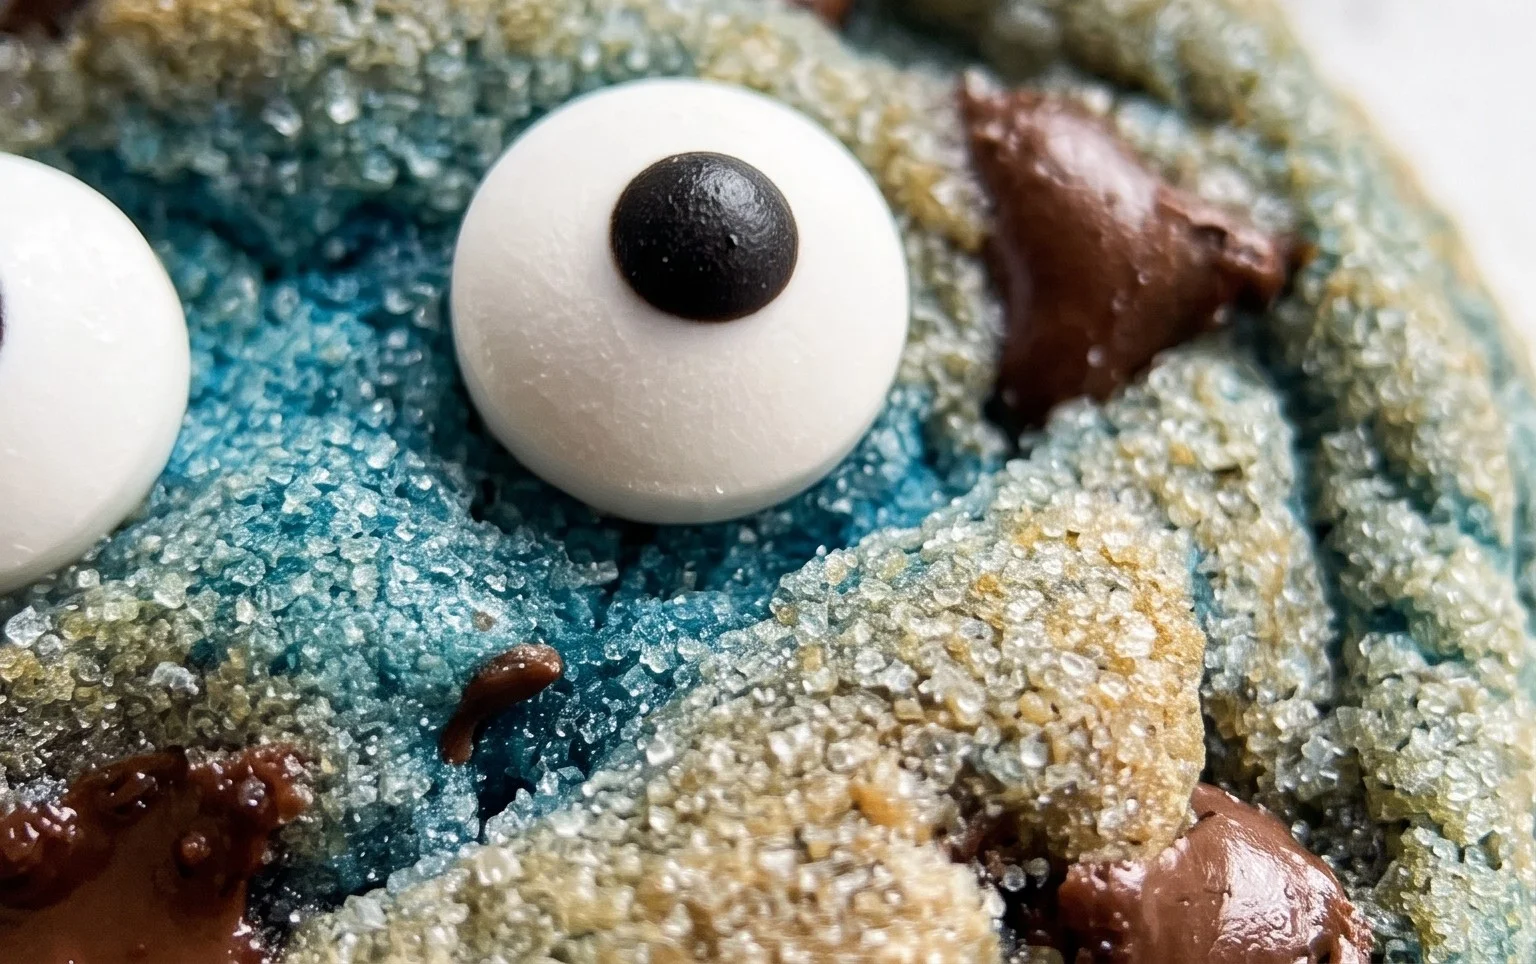
These Cookie Monster Cookies are a guaranteed hit, bringing smiles with their bright blue color and loaded-in chocolatey, cookie-y goodness. They’re more than just a dessert; they’re a fun baking project that results in a wonderfully chewy and satisfying cookie. The combination of the soft blue dough, melty chocolate chips, and crunchy cookie pieces is simply irresistible. Don’t be afraid to get creative with your mix-ins! They are perfect for any occasion, from a casual afternoon treat to a show-stopping dessert at a birthday party. Serve them with a tall glass of milk for the ultimate experience. Baking these yourself is so rewarding, and the joy they bring is worth every step.
Frequently Asked Questions
Why are they called Cookie Monster Cookies?
They’re named after the beloved Sesame Street character, Cookie Monster, due to their iconic bright blue color, which mimics his fur, and their abundance of cookie and chocolate chunks, just how he likes them!
How can I make the blue color more intense?
To achieve a deeper blue, use a generous amount of gel food coloring. Start with a teaspoon and add more a little at a time until you reach your desired shade. Gel coloring is more concentrated than liquid, so it provides a better color payoff without altering the dough’s consistency too much.
Can I add other mix-ins?
Absolutely! Feel free to add other types of chocolate chips, candy pieces, or even sprinkles. Just ensure the total amount of mix-ins doesn’t overpower the dough. The key is a balance of flavors and textures.
Cookie Monster Cookies
Giant, soft chocolate chip cookies dyed bright blue to resemble the beloved Sesame Street character. Stuffed with whole Oreos for an extra chocolatey surprise.
Ingredients
-
120 g (1/2 cup) butter – unsalted, softened
-
100 g (1/2 cup) granulated sugar
-
50 g (1/4 cup) light brown sugar
-
1 egg – room temp
-
1 tsp vanilla extract
-
Blue gel food coloring
-
230 g (1 3/4 cups) all-purpose flour
-
Pinch of salt
-
1 tsp baking powder
-
1/2 tsp baking soda
-
40 g (1/4 cup) dark chocolate chips
-
40 g (1/4 cup) white chocolate chips
-
30 g (1/4 cup) crushed mini cookies
-
3 Oreos, chopped
-
12 whole Oreos
Instructions
-
Step 1
Cream together the softened butter, granulated sugar, and light brown sugar until light and fluffy. -
Step 2
Beat in the room temperature egg and vanilla extract until well combined. -
Step 3
Add blue gel food coloring to achieve a vibrant blue hue, mixing until uniform. -
Step 4
In a separate bowl, whisk together the all-purpose flour, salt, baking powder, and baking soda. -
Step 5
Gradually add the dry ingredients to the wet ingredients, mixing until just combined. Do not overmix. -
Step 6
Stir in the dark chocolate chips, white chocolate chips, crushed mini cookies, and chopped Oreos. -
Step 7
For each cookie, take a scoop of dough, flatten it, place a whole Oreo in the center, and then cover it completely with more dough, shaping into a ball. -
Step 8
Place dough balls on a baking sheet lined with parchment paper, leaving space between them. -
Step 9
Bake in a preheated oven at 350°F (175°C) for 9-11 minutes, or until the edges are set but the centers are still slightly soft. -
Step 10
Let the cookies cool on the baking sheet for a few minutes before transferring them to a wire rack to cool completely.
Important Information
Nutrition Facts (Per Serving)
It is important to consider this information as approximate and not to use it as definitive health advice.
Allergy Information
Please check ingredients for potential allergens and consult a health professional if in doubt.