Easy Samoa Rice Krispie Treats Recipe
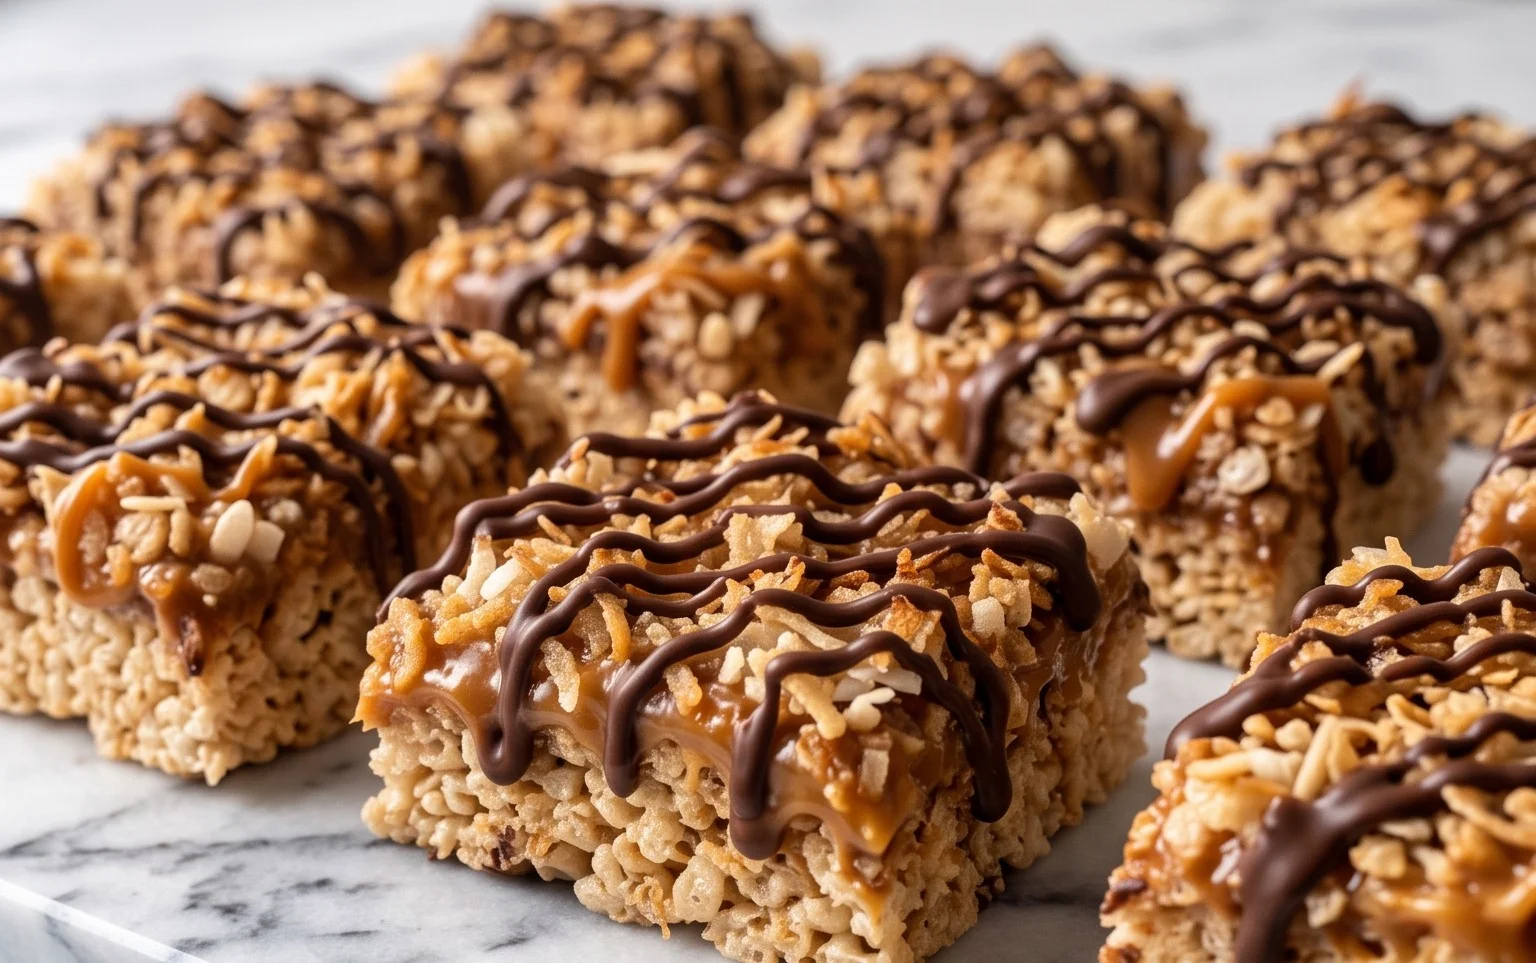
Samoa Rice Krispie Treats bring the irresistible flavors of your favorite candy bar into an easy, no-bake dessert. The chewy, gooey base is loaded with toasted coconut, drizzled with caramel-like dulce de leche, and finished with a chocolatey stripe. They’re simple enough for a weeknight treat but special enough for a party. The key is the combination of textures and the way the dulce de leche melts slightly into the warm cereal mixture, creating pockets of rich caramel flavor. You can really taste the toasted coconut, which adds a lovely nuttiness that complements the sweetness. Preparing Your Pan and Ingredients Before you even think about melting marshmallows, get your baking pan ready. This is important because once the Rice Krispie mixture is made, it’s sticky and you need to work quickly. I like to use a 9×13 inch baking pan. Grease it really well with butter or cooking spray. Some people also like to line it with parchment paper, leaving some overhang on the sides to make it easier to lift the finished treats out later. This is a good tip if you plan to cut them into neat squares. Also, have all your ingredients measured out and ready to go. Marshmallows will melt fast, and the butter can burn if you’re not attentive. Measure the Rice Krispies into a large bowl. This step ensures you can pour them in all at once when the marshmallow mixture is ready.
Ingredients:
- 5 cups mini marshmallows
- 3 TBS butter
- 6 cups Rice Krispie cereal
- 14 oz bag sweetened shredded coconut
- 2 TBS milk
- 1 (13.4 oz) can dulce de leche
- 6 oz semisweet chocolate (melted)
Samoa Rice Krispie Treats
These Samoa Rice Krispie Treats bring the irresistible flavors of your favorite candy bar into an easy, no-bake dessert. The chewy, gooey base is loaded with toasted coconut, drizzled with caramel-like dulce de leche, and finished with a chocolatey stripe. They’re simple enough for a weeknight treat but special enough for a party. The key is the combination of textures and the way the dulce de leche melts slightly into the warm cereal mixture, creating pockets of rich caramel flavor. You can really taste the toasted coconut, which adds a lovely nuttiness that complements the sweetness.
Preparing Your Pan and Ingredients
Before you even think about melting marshmallows, get your baking pan ready. This is important because once the Rice Krispie mixture is made, it’s sticky and you need to work quickly. I like to use a 9×13 inch baking pan. Grease it really well with butter or cooking spray. Some people also like to line it with parchment paper, leaving some overhang on the sides to make it easier to lift the finished treats out later. This is a good tip if you plan to cut them into neat squares.
Also, have all your ingredients measured out and ready to go. Marshmallows will melt fast, and the butter can burn if you’re not attentive. Measure the Rice Krispies into a large bowl. Measure out your shredded coconut so it’s ready to be added. Open the can of dulce de leche and have it accessible. The milk is for the dulce de leche drizzle later, so have that ready too. Melting the chocolate should be done last, just before you’re ready to decorate.
Melting the Marshmallows
Grab a large pot – one that can comfortably hold all your ingredients. Add the 3 tablespoons of butter to the pot and melt it over low to medium-low heat. You don’t want the butter to brown or become too hot, just melted and smooth. Once the butter is melted, add the 5 cups of mini marshmallows. Keep stirring them gently as they melt. The marshmallows will start to puff up and become gooey. This usually takes about 5-7 minutes. The goal is to have a smooth, creamy, and fully melted marshmallow mixture. Don’t rush this step by turning up the heat too high, as this can make the marshmallows tough.
Combining the Gooey Goodness
Once your marshmallows are completely melted and smooth, remove the pot from the heat immediately. This is where the magic happens. Add the 6 cups of Rice Krispie cereal to the melted marshmallow mixture. Stir everything together quickly but gently. You want to coat every single piece of cereal with the marshmallow. Make sure there are no dry pockets of cereal left. Don’t overmix, as this can crush the cereal and make the treats dense.
Now, add the entire 14 ounce bag of sweetened shredded coconut to the pot. Continue to stir until the coconut is evenly distributed throughout the cereal and marshmallow mixture. This step is what gives you that signature Samoa flavor. The warmth of the cereal mixture will help toast the coconut slightly, bringing out its natural sweetness and making it fragrant. You’ll start to smell that delicious coconut aroma.
Pressing into the Pan
Transfer the gooey, coconut-laden mixture into your prepared 9×13 inch baking pan. Now comes the part that requires a little patience and some lubrication for your hands. The mixture is incredibly sticky. You can use a spatula that you’ve greased or lightly buttered, but my favorite method is to lightly butter or spray my hands. Gently press the mixture evenly into the pan. Work quickly and don’t press too hard, or you’ll make the treats dense and hard. The goal is to get an even layer, about 1-inch thick. If the mixture is sticking to your hands, just re-butter or re-spray them. A flat-bottomed glass or a piece of wax paper can also help you press it down smoothly if you prefer not to use your hands directly.
Adding the Dulce de Leche Swirl
Now for the caramel-like layer. In a small bowl, combine the 1 can of dulce de leche with the 2 tablespoons of milk. Whisk them together until they are smooth and a drizzling consistency. The milk helps to thin out the dulce de leche just enough so it’s easy to drizzle.
Once your Rice Krispie mixture is pressed into the pan, spoon dollops of this thinned dulce de leche over the top. Don’t worry about making it perfect. Use a butter knife or a toothpick to gently swirl the dulce de leche into the top layer of the Rice Krispie treats. This creates those beautiful caramel ribbons that are a hallmark of Samoa cookies. Try to get some swirls going without digging too deep into the cereal mixture.
Finishing with Chocolate
Let the dulce de leche swirl sit for about 5-10 minutes to slightly set before adding the chocolate drizzle. This prevents the chocolate from immediately sinking too far into the dulce de leche.
Melt your 6 ounces of semisweet chocolate. You can do this in a microwave-safe bowl in 30-second intervals, stirring in between until it’s smooth, or use a double boiler. Once melted and smooth, transfer the melted chocolate into a piping bag or a zip-top bag with a small corner snipped off.
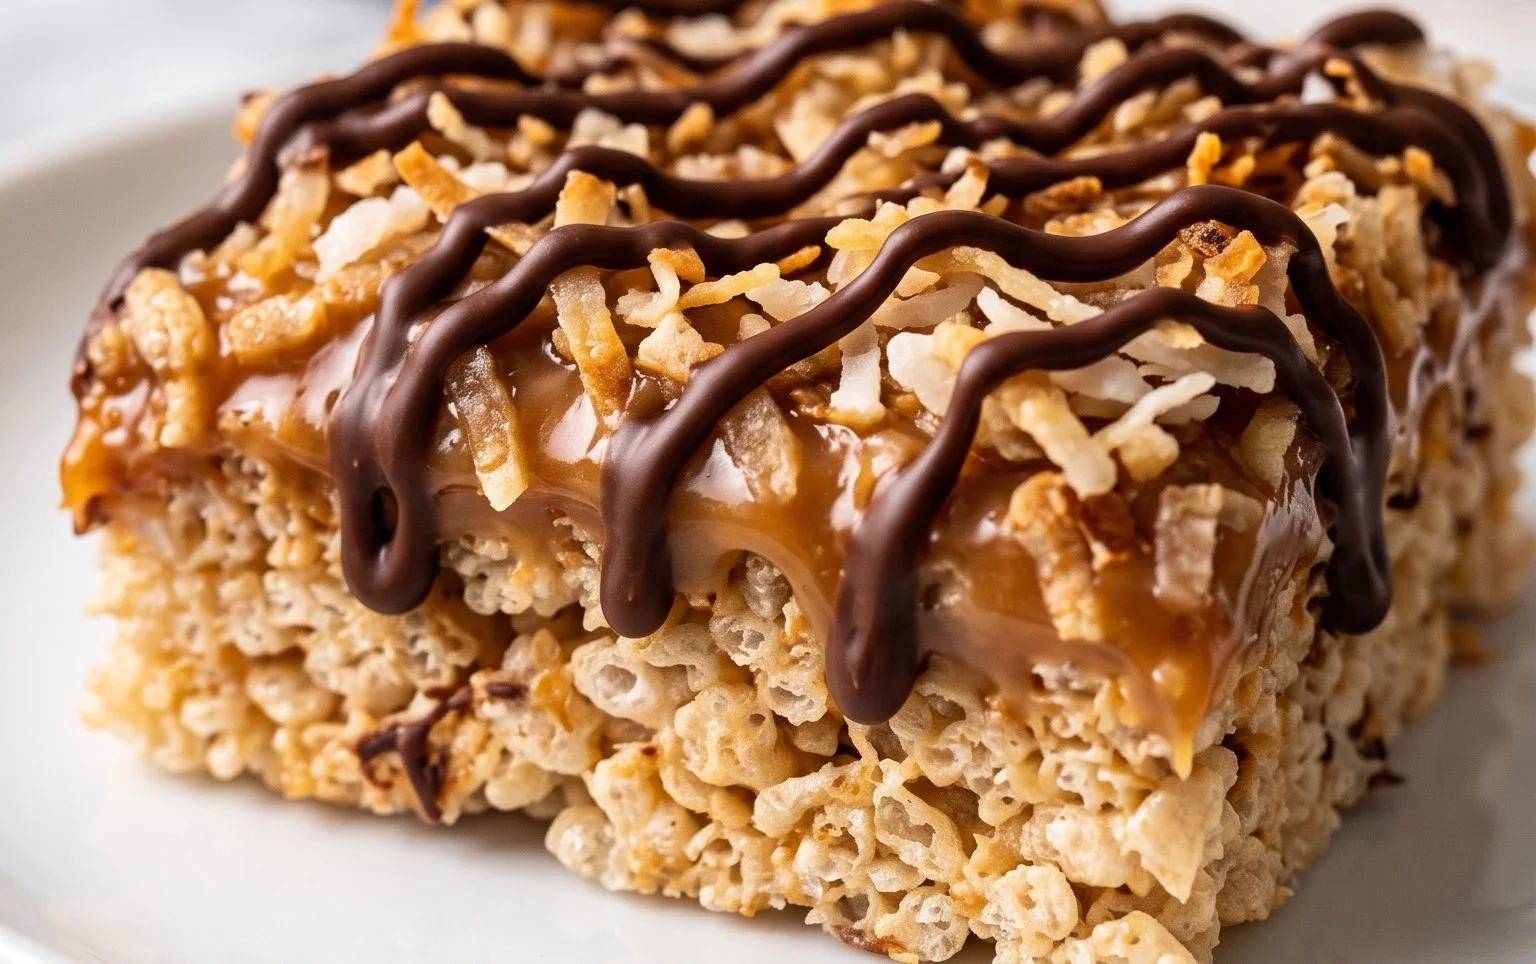
Drizzle the melted chocolate back and forth over the entire pan of treats. Again, don’t aim for perfection; random lines look best and give that homemade charm. This final touch brings the Samoa flavor profile together perfectly, mimicking the chocolate drizzle on the actual cookies.
Let the treats cool completely at room temperature for at least 1-2 hours before cutting. This allows them to firm up properly. Once fully cooled, use a sharp knife to cut them into squares. Store any leftovers in an airtight container at room temperature for up to 3 days. They are best enjoyed fresh when they have that perfect chewy texture.
Conclusion:
Making these Samoa Rice Krispie Treats is incredibly straightforward, perfect for anyone looking for a fun, no-bake dessert that tastes like a dream. The combination of gooey marshmallows, chewy cereal, toasted coconut, rich dulce de leche, and a chocolate drizzle is a winning formula that always gets rave reviews. They are excellent for bake sales, kids’ parties, or just a special weekend snack. Feel free to get creative with variations; you could add a pinch of sea salt on top of the chocolate to enhance the flavors, or even swirl in some peanut butter if you love that salty-sweet combo. To store them, keep them in an airtight container at room temperature for up to 3 days. They usually don’t last that long, though! Don’t be afraid to try them – they are surprisingly simple to put together and yield a fantastic result.
Frequently Asked Questions:
Can I use regular-sized marshmallows?
Yes, you can use regular-sized marshmallows. You’ll need about 10 cups of regular marshmallows to equal the 5 cups of mini marshmallows. Melting might take a few minutes longer.
How do I get clean cuts?
For the neatest cuts, lightly grease your knife or a pizza cutter with butter or cooking spray. Pressing the mixture firmly and evenly into the pan also helps create a stable base that’s easier to slice.
What can I substitute for dulce de leche?
If you can’t find dulce de leche, you can use caramel sauce or even make your own by simmering sweetened condensed milk until it thickens and caramelizes. The flavor will be similar, though dulce de leche has a distinct richness.
Samoa Rice Krispie Treats
A delicious twist on classic Rice Krispie treats, inspired by the flavors of Samoa cookies, featuring caramel, coconut, and chocolate.
Ingredients
-
5 cups mini marshmallows
-
3 TBS butter
-
6 cups Rice Krispie cereal
-
14 oz bag sweetened shredded coconut
-
2 TBS milk
-
1 (13.4 oz) can dulce de leche
-
6 oz semisweet chocolate, melted
Instructions
-
Step 1
Grease a 9×13 inch pan. -
Step 2
In a large saucepan, melt butter over low heat. Add marshmallows and stir until completely melted. -
Step 3
Remove from heat. Stir in sweetened shredded coconut and milk until well combined. -
Step 4
Add Rice Krispie cereal and stir until evenly coated. Press the mixture evenly into the prepared pan. -
Step 5
Drizzle dulce de leche over the top of the treats. Then, drizzle melted semisweet chocolate over the dulce de leche. Use a knife or toothpick to create swirls. -
Step 6
Let set for at least 30 minutes before cutting into bars.
Important Information
Nutrition Facts (Per Serving)
It is important to consider this information as approximate and not to use it as definitive health advice.
Allergy Information
Please check ingredients for potential allergens and consult a health professional if in doubt.